PyCharm with WSL2 and Ubuntu 20.04
Why PyCharm with WSL2?
PyCharm is a professional grade Python IDE that includes a broad range of capabilities such as auto-completion, debugging and integrated database tooling. Many developers recommend the JetBrains suite for a variety of reasons, however when working with multiple companies and teams they may not have a choice underlying operating system.
Using PyCharm with built-in remote capabilities allows for the same workflow (PyCharm IDE, Linux backend) across platforms including Windows / WSL2, MacOS / Docker, or any desktop and a remote Linux virtual machine in the cloud.
Configuring WSL2
When setting up WSL2, check your BIOS settings and make sure that virtualization is enabled, and VT-D for optimal performance.
For Windows users using the Windows Insider program, open a command prompt with administrator priviledges and run
wsl --install.
If you are running the stable version of Windows 10, run the following in an administrator command prompt:
dism.exe /online /enable-feature /featurename:Microsoft-Windows-Subsystem-Linux /all /norestart
dism.exe /online /enable-feature /featurename:VirtualMachinePlatform /all /norestart
Reboot and then download the Linux Kernel Update package from Microsoft.
Configure wsl to use version 2:
wsl --set-default-version 2
Once complete visit the Microsoft Store and download Ubuntu 20.04. At this point you should be able to open a terminal (if you don’t have one yet checkout microsoft/terminal) and see an Ubuntu 20.04 command prompt.
Download and Configure PyCharm
WSL2 is now installed, and we are ready to
download PyCharm from jetbrains.com and run through the
installer. Once complete start PyCharm, click Settings -> Project -> Python Interpeter -> Gear Icon -> Add. For the
interpreter type select WSL and for the path use /usr/bin/python3. At this point I prefer to swap Ubuntu’s
default python with miniconda, but I will save
that for a later post.
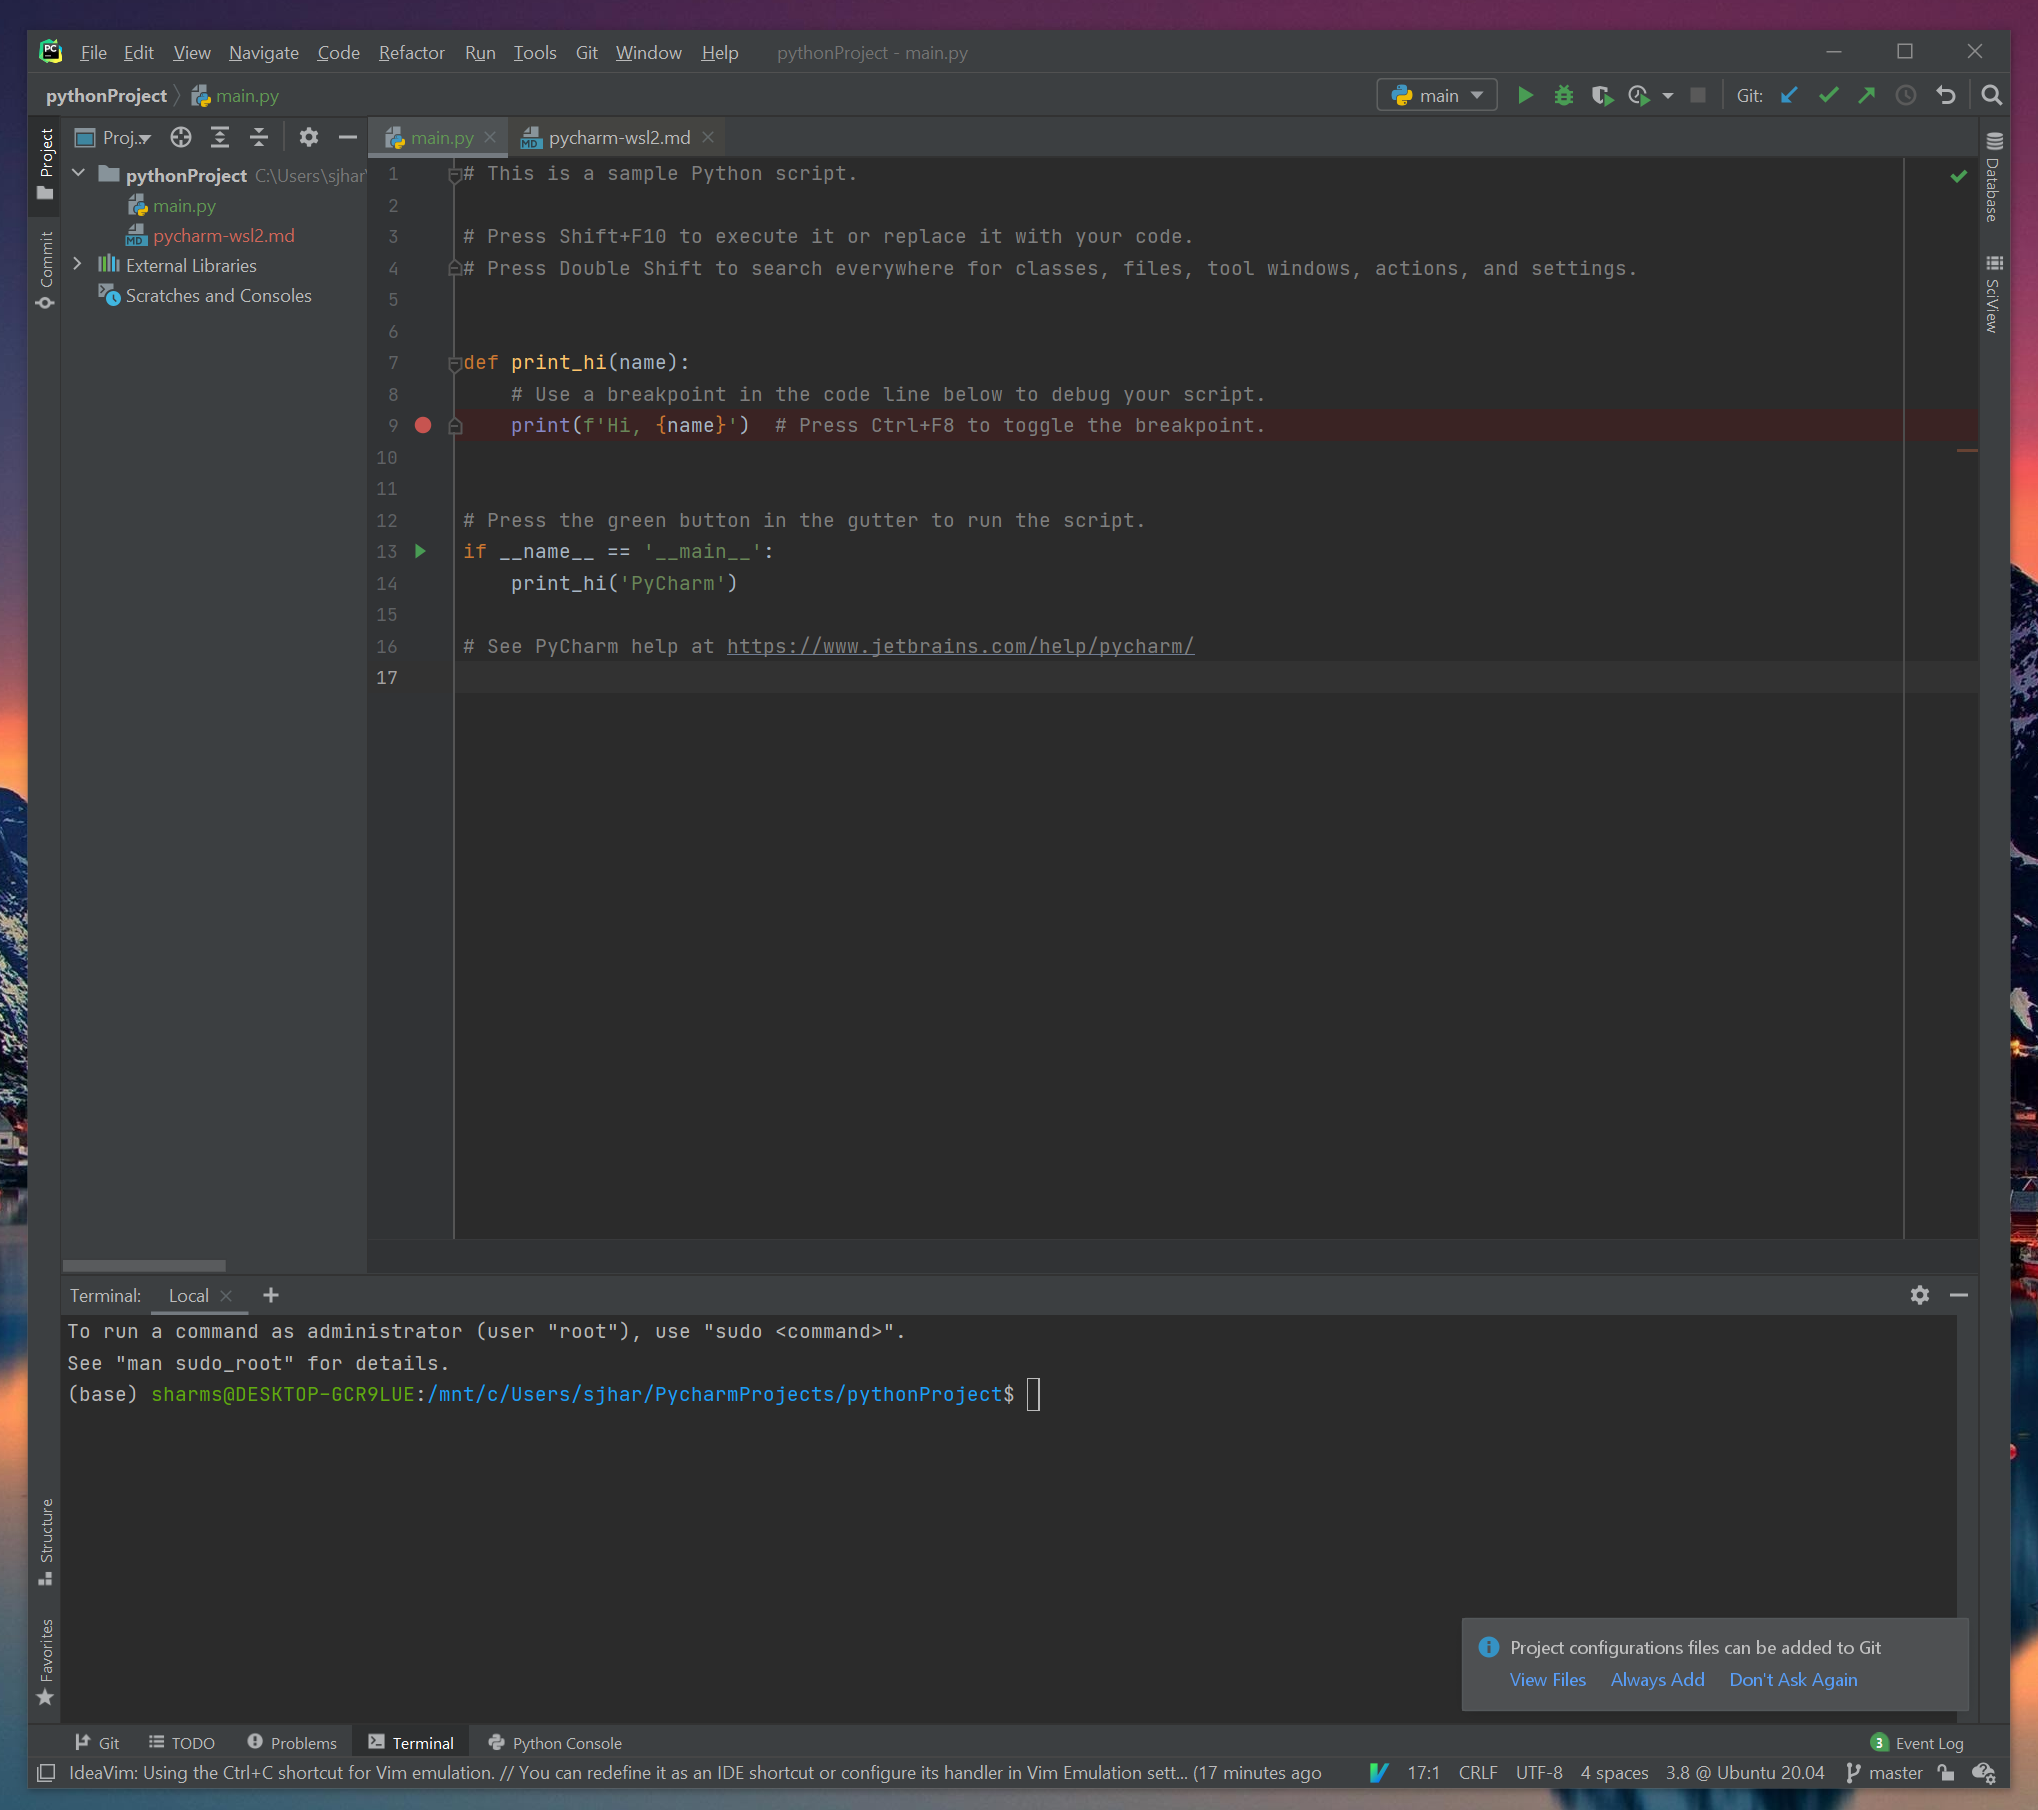
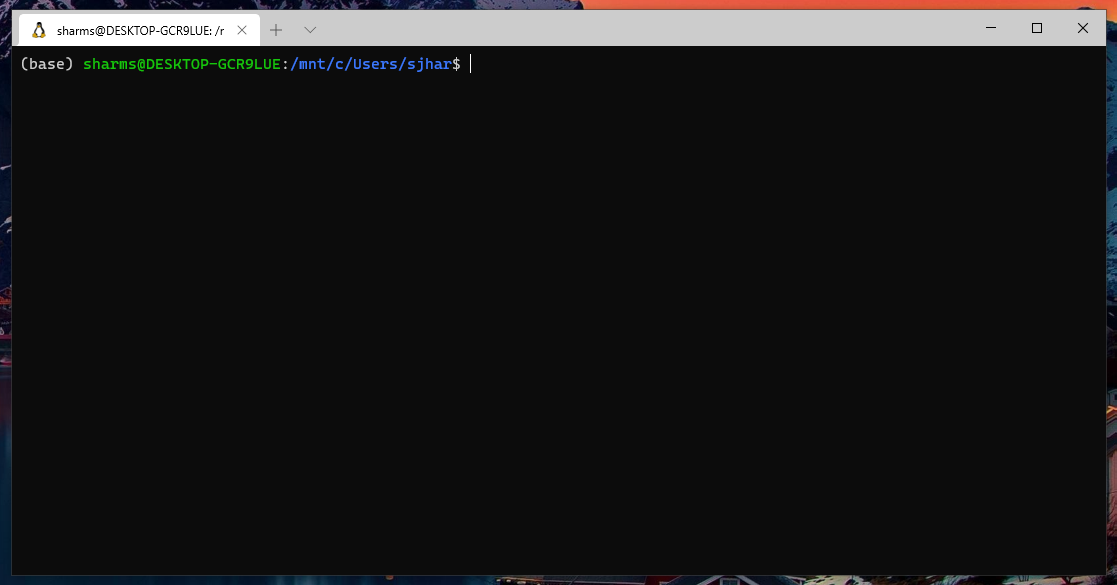
While in the settings panel you can also switch the integrated terminal to use the WSL2 instance. Select
Settings -> Tools -> Terminal and under Shell path replace cmd.exe with wsl.exe.
Conclusion
Following the steps outlined above you can now develop fully featured Python applications, with all the advanced IDE features of PyCharm, using Linux but without having to format the system or having to pick a particular set of hardware components. Found a problem or have suggestions on a better method? Let me know!